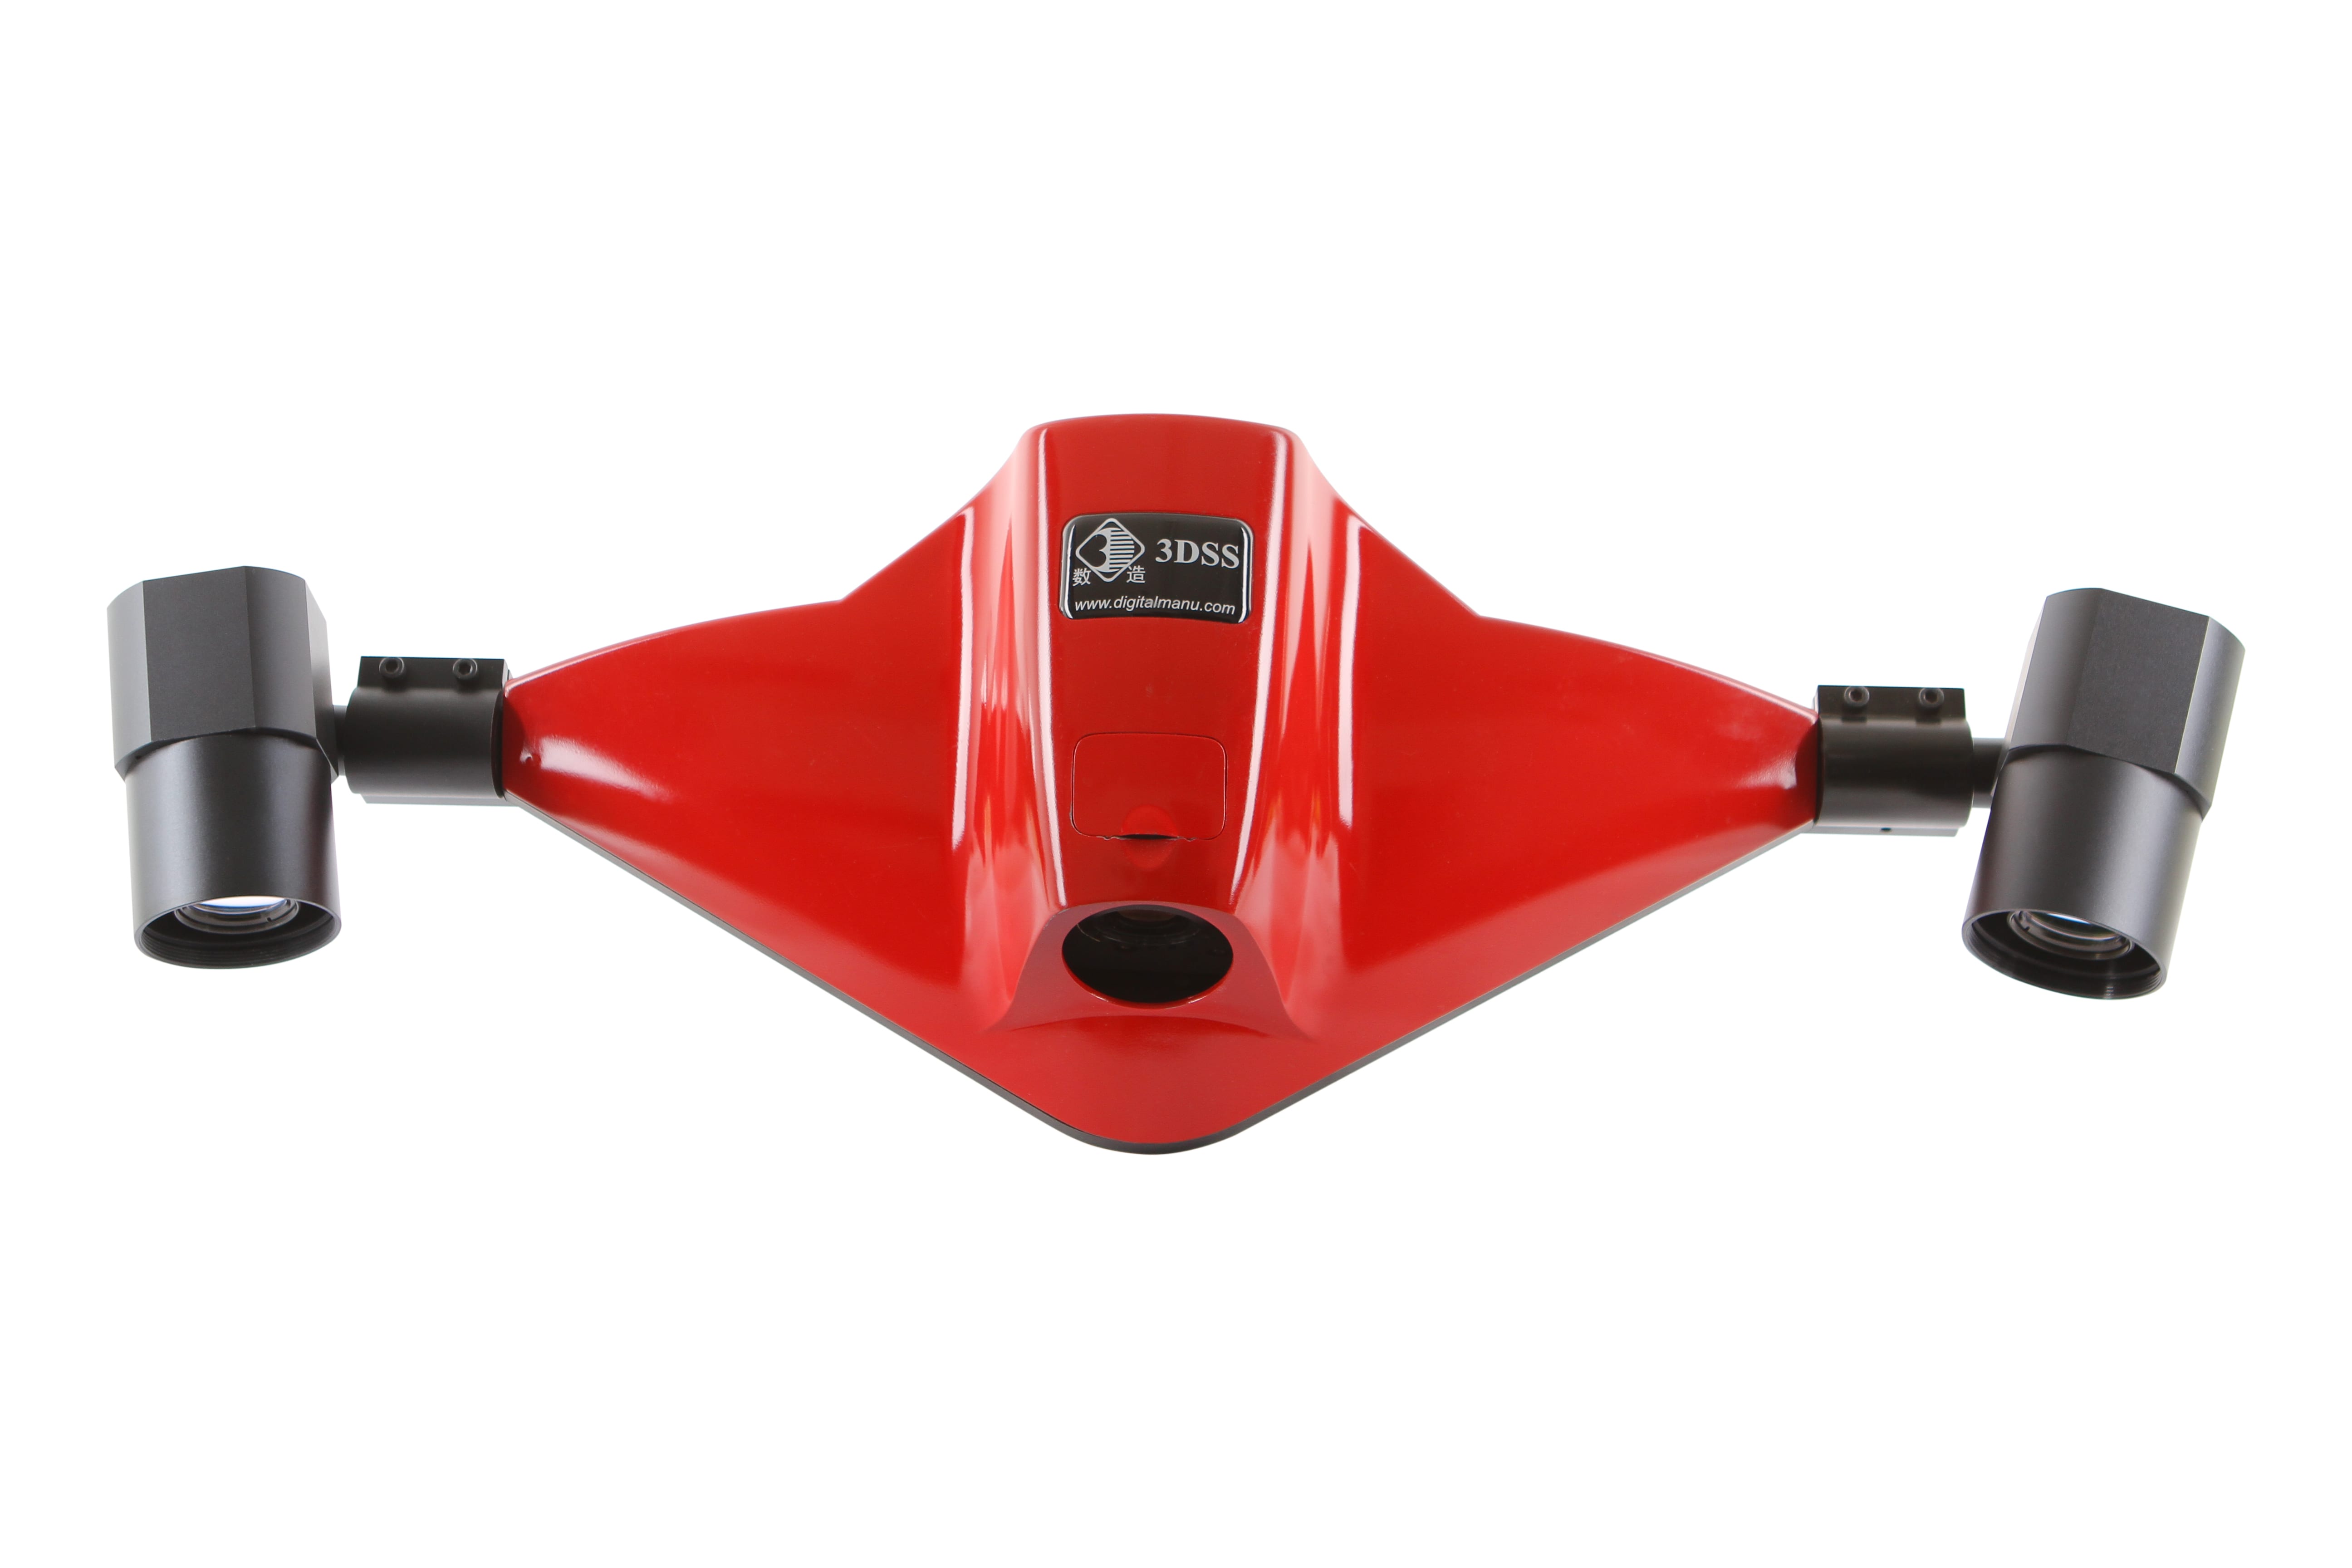
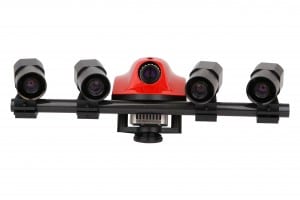
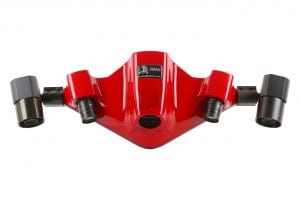
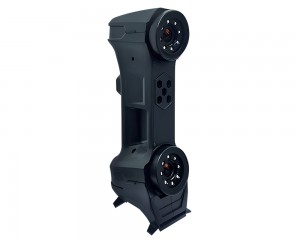
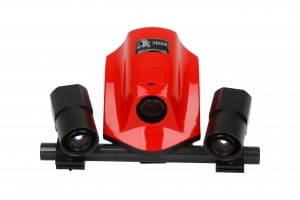
Mirage 4-eye 3D scanner is equipped with 4 group of camera lens, which can be chosen and shifted according to the size of the object and detailed texture of the object surface. Large and small accurate scanning can be accomplished at the same time without readjustment or re-demarcate of camera lens. Mirage 4-eye series contain white light and blue light 3D scanners.
Structured light 3D scanner-3DSS-MIRG-III
Brief Introduction of 3D Scanner

3D scanner is a scientific instrument used to detect and analyze the shape and appearance data of objects or environments in the real world, including geometry, color, surface albedo, etc.
The collected data is often used to perform 3D reconstruction calculations to create a digital model of the actual object in the virtual world. These models are used in a wide range of applications such as industrial design, flaw detection, reverse engineering, character scanning, robot guidance, geomorphology, medical information, biological information, criminal identification, digital heritage collection, film production, and game creation materials.
Principle and Characteristics of Non-contact 3D Scanner
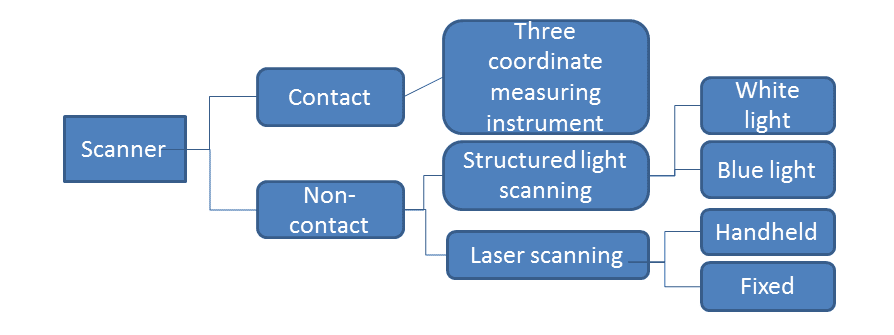
Non-contact 3D scanner: including a surface structured light 3D scanner (also called a photo or portable or raster 3D scanner) and a laser scanner.
The non-contact scanner is popular among people for its simple operation, convenient carrying, fast scanning, flexible use, and no damage to items. It is also the mainstream of current technological development. What we call “3D scanner” refers to a non-contact scanner.
Principle of Structured Light 3D Scanner
The principle of a structured light 3D scanner is similar to the process of a camera taking a photo. It is a composite three-dimensional non-contact measurement technology combining structural light technology, phase measurement technology and computer vision technology. During the measurement, the grating projection device projects a plurality of specific coded structured lights onto the object to be tested, and the two cameras at a certain angle synchronously acquire corresponding images, then decode and phase the image, and use matching techniques and triangles. The measurement principle is used to calculate the three-dimensional coordinates of the pixels in the common view of the two cameras.
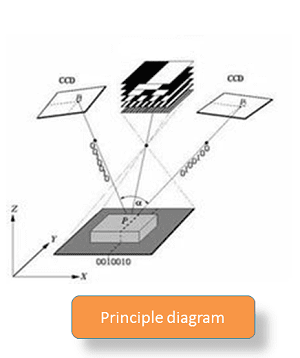
Characteristics of 3DSS scanners
1. Joint automatically, supporting to select the best data from the overlapping point cloud data.
2. High scanning speed, single scanning time is less than 3 seconds.
3. High precision, single scan can collect points of 1 million.
4. Scanning data will be saved automatically, no affect the operation time.
5. Output data files such as GPD/STL/ASC/IGS.
6. Adopting LED cold light source, small heat, performance is stable.
7. Main body is made of carbon fiber, thermal stability is higher.
8. Patented streamline outlook design, beautiful, light and durable.
Application Cases
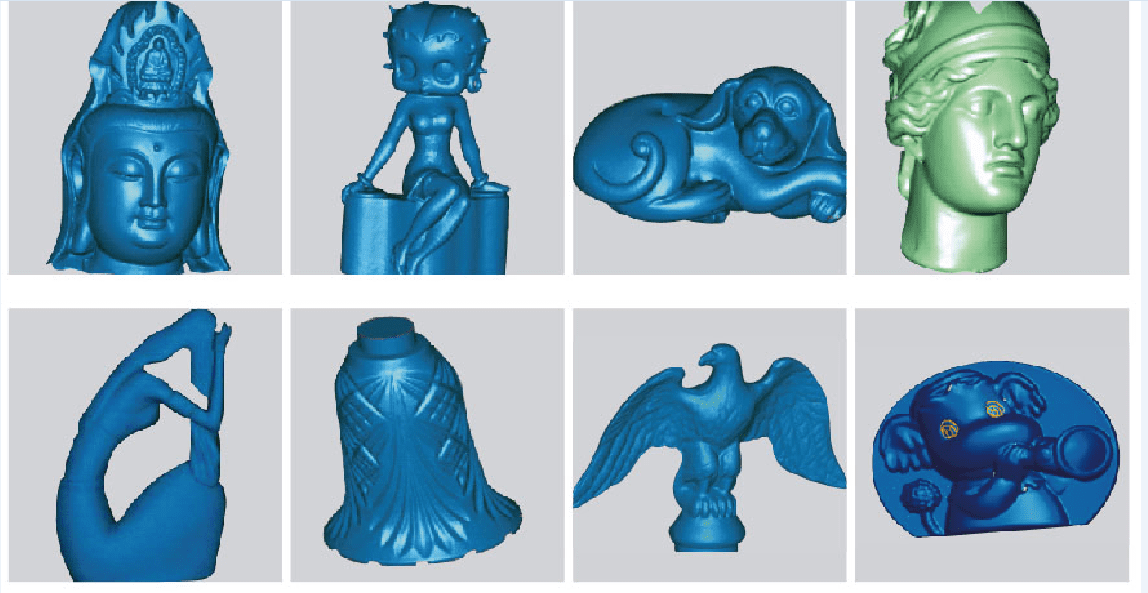
Application Fields
Single scan range: 400mm(X) *300mm(Y)
Single scan precision: ±0.02mm
Single scan time: <3s
Single scan resolution:1,310,000/3,000,000/5,000,000
Point cloud output format: GPD/STL/ASC/IGS/WRL
compatible with standard reverse engineering and 3D CAD software


