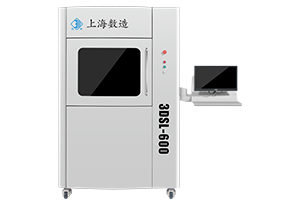
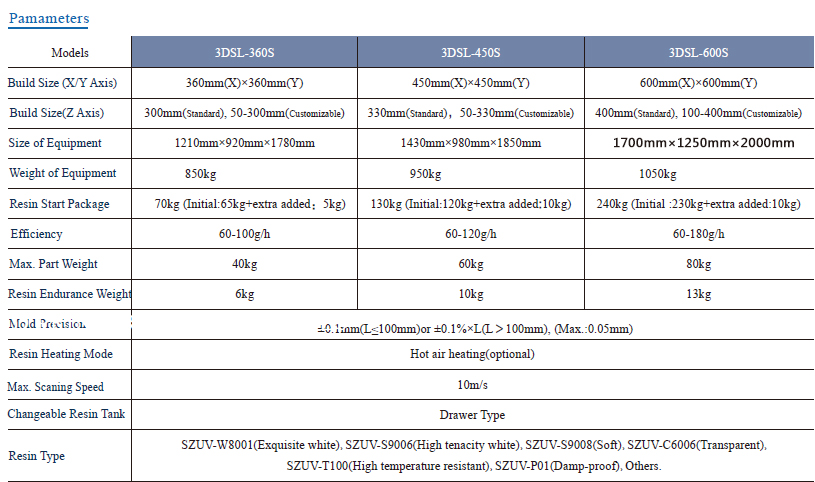
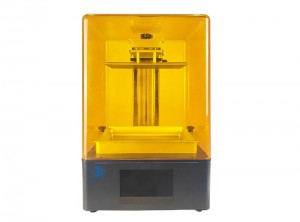
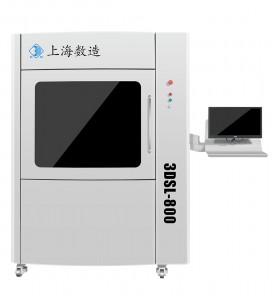
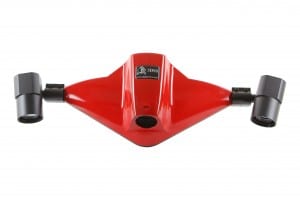
SL 3D printer 3DSL-600S
RP technology introduction
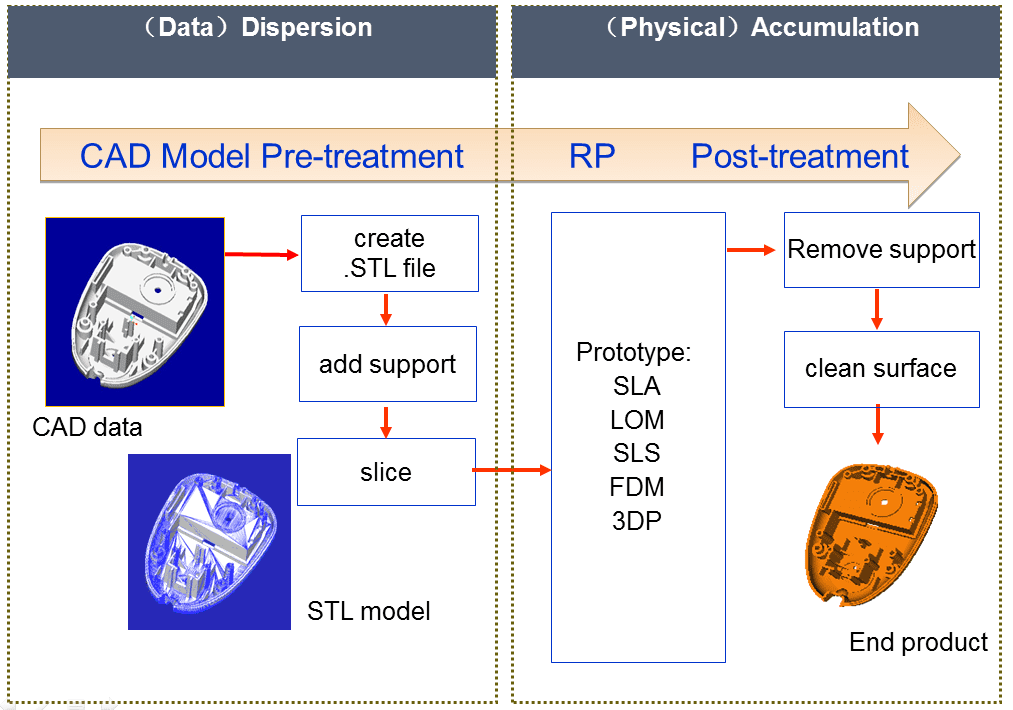
Rapid Prototyping (RP) is a new manufacturing technology that was first introduced from the United States in the late 1980s. It integrates modern scientific and technological achievements such as CAD technology, numerical control technology, laser technology and material technology, and is an important part of advanced manufacturing technology. Unlike traditional cutting methods, rapid prototyping uses a forming mechanism in which layered materials are superimposed to machine a three-dimensional part prototype. Firstly, the layering software slices the CAD geometry of the part according to a certain layer thickness, and obtains a series of contour information. The forming head of the rapid prototyping machine is controlled by the control system according to the two-dimensional contour information. Solidified or cut to form thin layers of various sections and automatically superimposed into three-dimensional entities
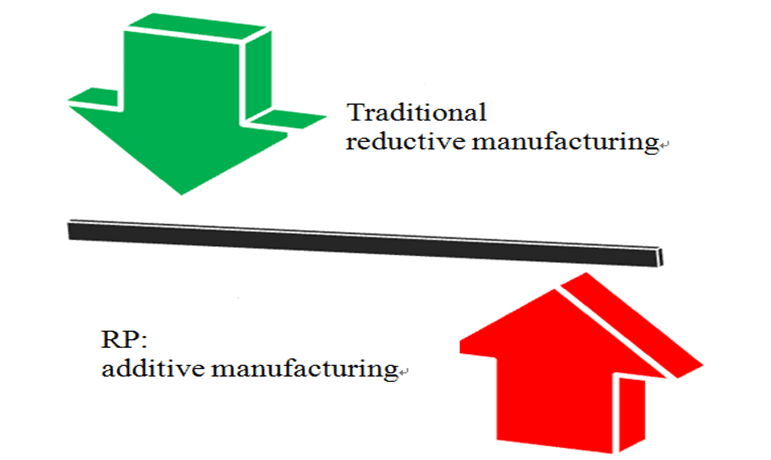
Additive manufacturing
Characteristics of RP technique
Applications of RP technology
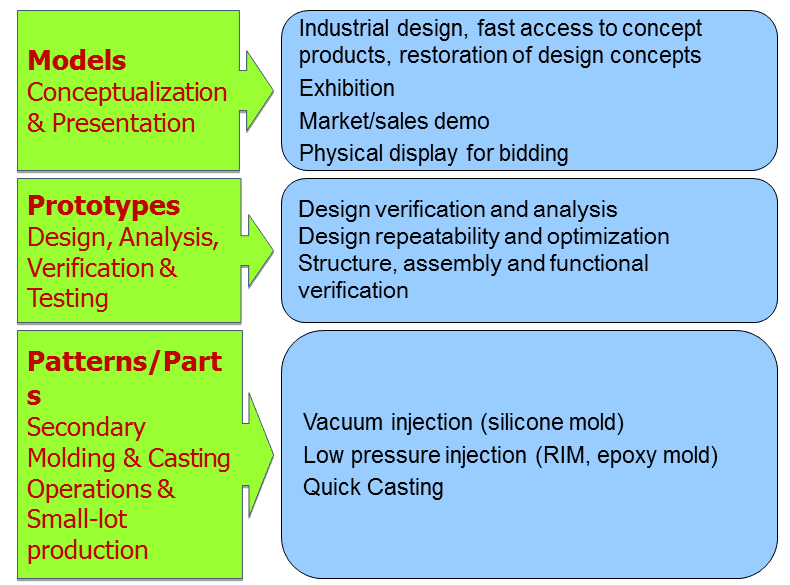
RP technology is widely used in the areas:
Models (Conceptualization & Presentation):
Industrial design, fast access to concept products, restoration of design concepts, Exhibition,etc.
Prototypes (Design, Analysis, Verification & Testing):
Design verification and analysis, Design repeatability and optimization etc.
Patterns/Parts (Secondary Molding & Casting Operations & Small-lot production):
Vacuum injection (silicone mold),Low pressure injection (RIM, epoxy mold) etc.
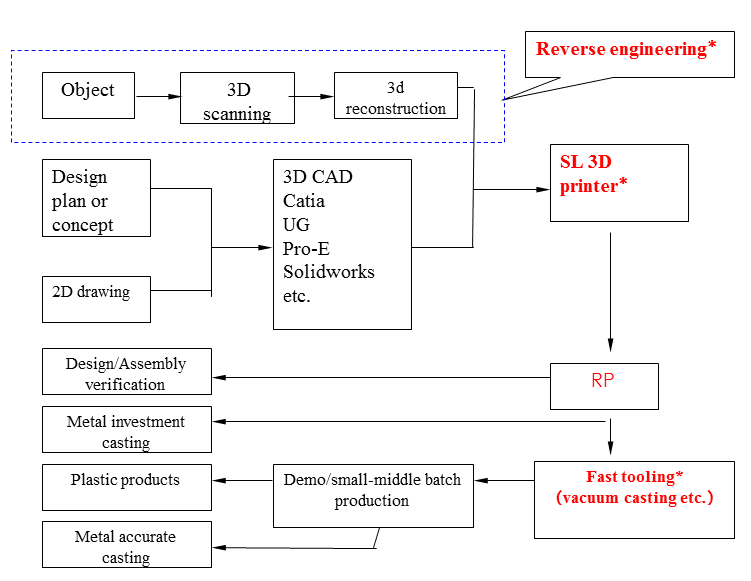
Application process of RP
The application process can start either from an object,2D drawings or just an idea. If only the object is available, the first step is to scan the object to get an CAD data, go to revese engineeing process or just amendment or modification and then begin the RP process.
If 2D drawings or idea exists, it is necessary to go to 3D modeling procedure using the special software, and then go to the 3D prining process.
After RP process, you can get the solid model for functional test, assembly test or go to other procedures for casting according to actual needs of clients.
Introduction of SL technology
The domestic name is stereolithography, also known as laser curing rapid prototyping. The principle is: the laser is focused onto the surface of the liquid photosensitive resin and scanned according to the cross-sectional shape of the part, so that it is selectively cured, from point to line to the surface, to complete the curing of one layer, and then the lifting platform is lowered by one layer thickness and recoated with a new layer a resin and cured by laser until the whole solid model is formed.
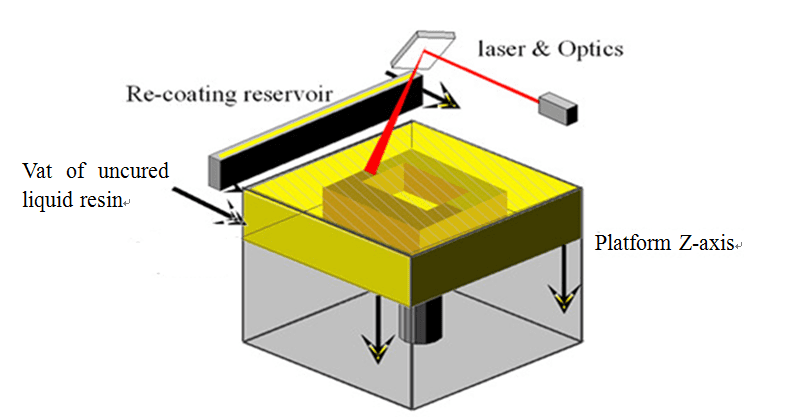
Advantage of 2nd Generation of SL 3D Printers of SHDM
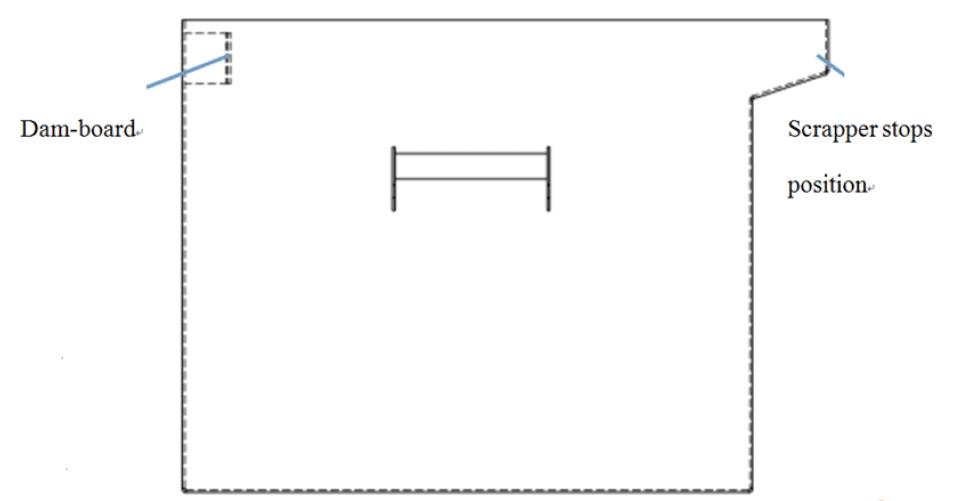
Replaceable resin tank
Only pull out and push in, you can print a different resin.
Resin tank of 3DSL series is changeable (Except 3DSL-800). For the 3DSL-360 printer, the resin tank is with the drawer mode, when replacing the resin tank, it is necessary to lower the resin tank to the bottom and lift two lock catches, and pull the resin tank out. Pour new resin after cleaning the resin tank well, and then lift the lock catches and push the resin tank into the printer and lock well.
3DSL-450 and 3DSL 600 is with the same resin tank system. There are 4 trundles at beneath of the resin tank to facilitate pulling out and pushing in.
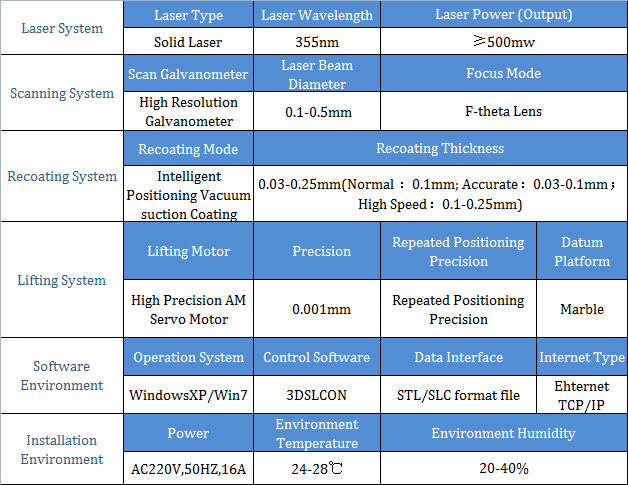
Optical system-Powerful solid laser
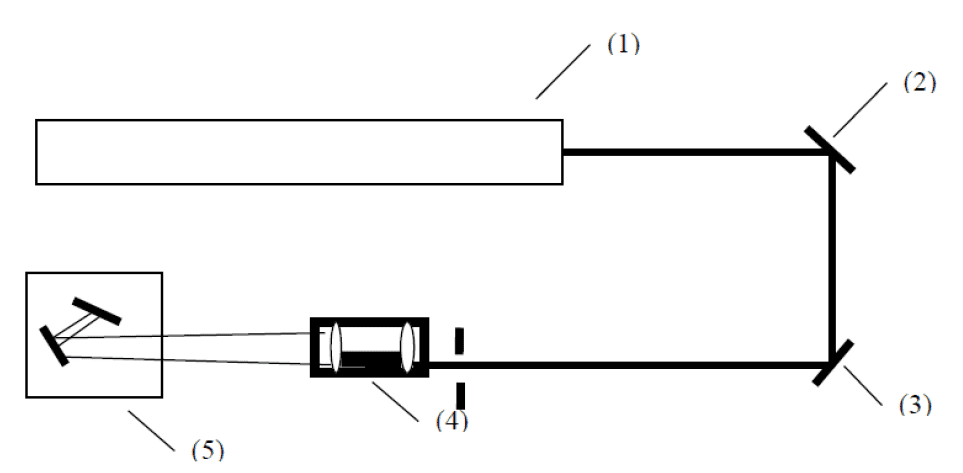
3DSL series SL 3D printers adopts the high powerful solid laser device of 3W and continuous output wave length is 355nm. Output power is 200mw-350mw, air cooling and water cooling are optional.
(1). Laser Device
(2). Reflector 1
(3). Reflector 2
(4). Beam Expander
(5). Galvanometer
High efficiency Galvanometer
Max scanning speed: 10000mm/s
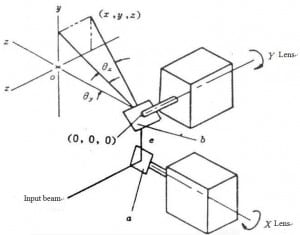
Galvanometer is a special swing motor, its basic theory is same as the current meter, when a certain current passes through the coil, the rotor will diverge a certain angle, and the deflection angle is proportional to the current. So the galvanometer is also called galvanometer scanner. Two vertically installed galvanometer form two scanning directions of X and Y.
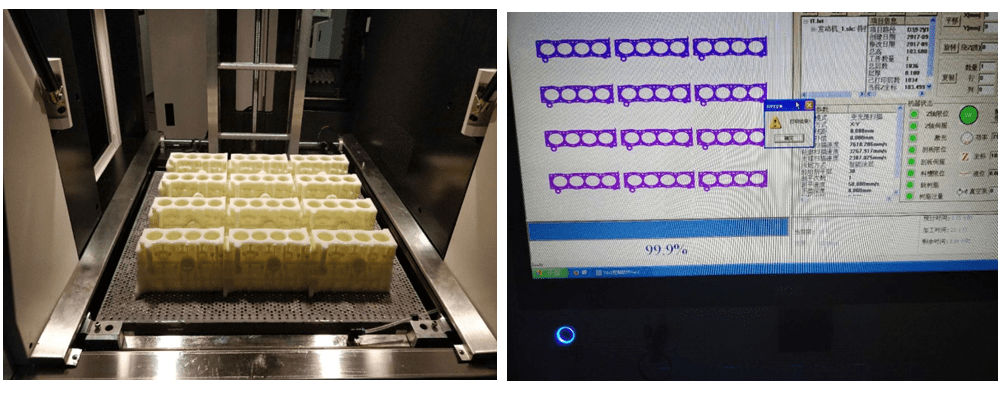
Productivity test-car engine block
Testing part is a car engine block, Part size: 165mm×123mm×98.6mm
Part volume: 416cm³, Print 12 pieces at the same time
Total weight is about 6500g, Thickness: 0.1mm, Strickle speed: 50mm/s,
It takes 23 hours to finish, average 282g/h
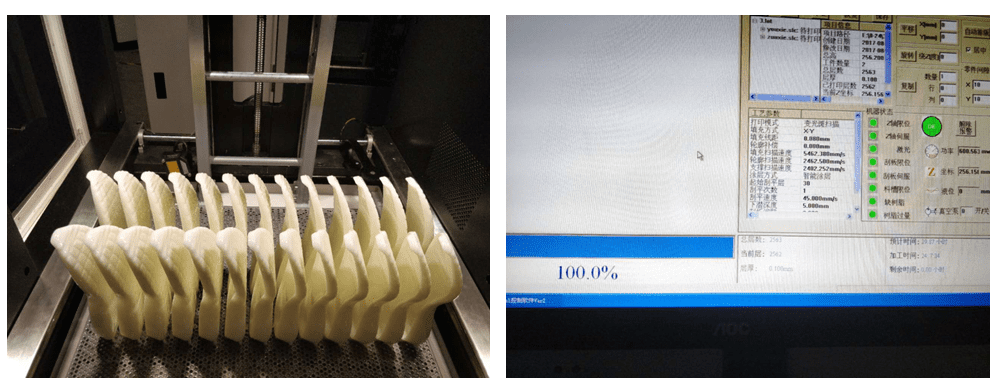
Productivity test- shoe soles
SL 3D printer: 3DSL-600Hi
Print 26 shoe soles at the same time.
It takes 24 hours to finish
Average 55 min for one shoe sole
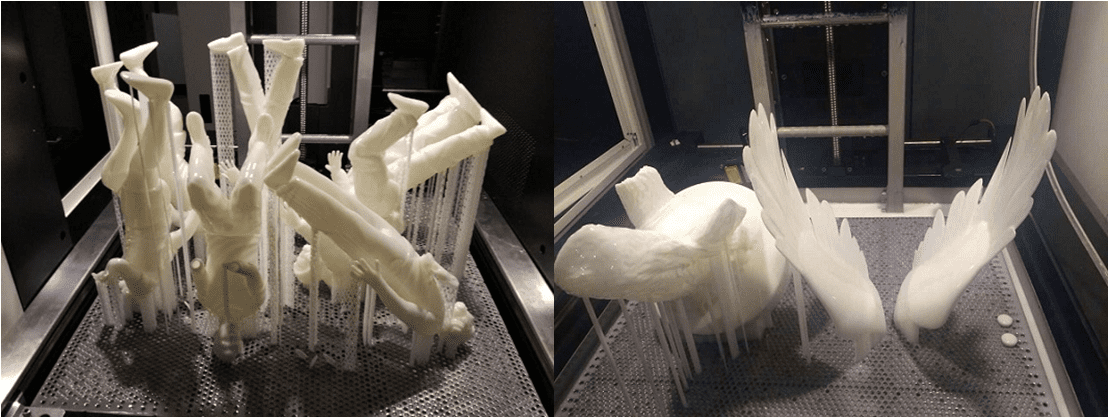
Download brochure
Application areas


